Monday, December 17, 2012

9 Months & So Big

Holding Caleb tighter as the country reels from the devastation in Newtown. It's impossible to fathom such evil. It's impossible to know how these families feel. And it's impossible not to cry out with a broken heart, praying that God will provide healing, strength and a peace beyond our understanding. Even as one grounded in my faith, I'm left wondering how a good and sovereign God allows such unthinkable pain and suffering. At the same time, it makes it absolutely clear that we are a broken and sinful people, in desperate need of redeeming. And the truth is that He is still good, still sovereign, all-powerful and perfectly loving... even when it doesn't make sense in my finite mind.

It feels wrong to go on with our happy little life. To post about all of the wonderful milestones from the past month when there are 27 families broken over the milestones that will never be reached. But I do not have to go on with life as if nothing ever happened. This unthinkable act will serve as a reminder to be thankful every single day for the life and breath that I have, for the wonderful Godly husband that I get to do life with and for our beautiful baby boy and the privilege it is to be his mama. It will serve as a reminder that even though it appears that evil won the day on December 14th, the battle has already been won... Christ lives so that we may have life eternal. And it is our call, our duty, to share this truth and this love with anyone and everyone.

Even with a broken heart over the loss in Newtown, I still want to rejoice for another amazing month with Caleb. Our not-so-little man is 9 months old. And I'm happy to say we are still loving this parent thing (some days more than others - but all days are better than life pre-Caleb). We haven't had his 9 month check up yet so no weight/height figures to report yet, although I think he is starting to thin out with all of the moving he's doing (he never stops moving). Here are the milestones of month 9:

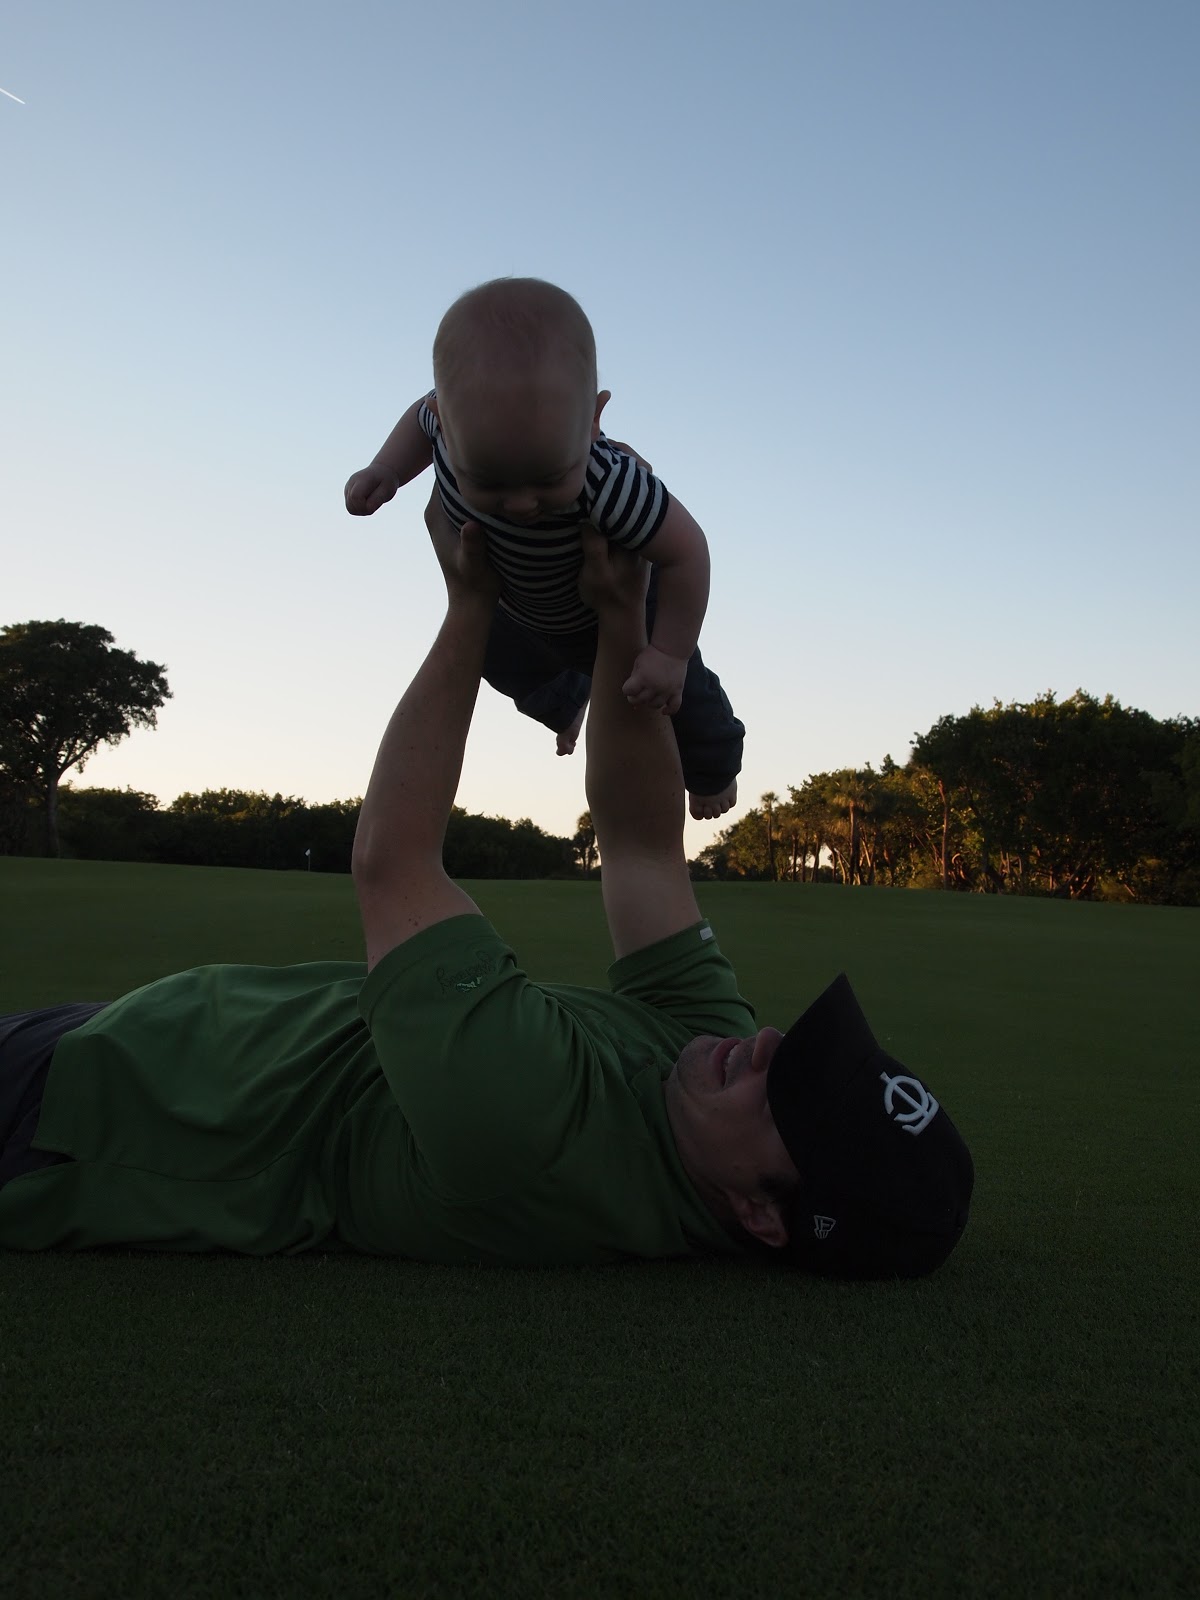
  • The best one by far is his new "How big is Caleb" trick. He caught on to this one quickly and it has provided hours of fun:

  • He's kind of learned how to feed himself. It's more like bringing an open hand to his mouth hoping that a cheerio is stuck to his palm and will magically jump into his mouth at just the right moment... but it's something! 
  • This is a new favorite of mine as well - he can feed himself his bottle! This just started a few days ago and has already proven very valuable. We can now kiss the "we-have-somewhere-to-be-in-15-minutes-and-I-still-have-to-make-myself-look-somewhat-presentable-but-Caleb-is-melting-and-needs-a-bottle-pronto-so-we-will-either-be-late-or-I-will-look-like-I-just-dragged-myself-out-of-bed" days goodbye! Woo hoo
  • I'm sad to say we have made NO progress on his naps - he is still a catnapper and it looks like this isn't going to change anytime soon. I think the hardest part is that there is nothing I can do to control this... believe me, I've tried everything. It's been a continuous lesson in letting go and accepting that I'm not in control. 
  • We had our first bout with the flu and it was TERRIBLE! Thankfully we only dealt with the projectile puking for one day, but the runs stuck around for several days. We experienced 15 epic blowouts, many of which sent us directly to the bathtub and/or throwing onesies away. The best one was at Tim's work Christmas party. We're sitting there eating dinner at the front of the auditorium when Tim looks down and says "Sarah - what.is.that??" We both gaze down in horror and watch as Caleb's poop literally bubbles out the back of his pants, down his legs, into his shoes and all over the floor. Did I mention we were sitting at the front of the auditorium? So there I am carrying a poop-covered-Caleb at arms length through the sea of people, to the bathroom where I proceed to strip him naked and use a million wipes to get him as clean as possible. Thank the Lord my good friend Hope was with me to hand me wipe after wipe and stuff Caleb's clothes in a baggie - what a friend! And good thing I had an adorable back-up outfit in my diaper bag... oh wait! Who thinks about their back-up outfit? I obviously had not in months! Caleb spent the rest of the evening in an outfit that was 6 months too small... pant legs that barely made it to his knees and his diaper busting through the snaps. I could feel people's judgement - "you're decked out in a dress, pearls and heels and you choose that embarrassing outfit for your son?" I wanted to run to the stage and tell the whole story so that everyone would know I did not willingly subject my son to such an awful wardrobe malfunction. Oh well... another great story for the high school graduation open house (by the way, is it just me and my son that all of our funniest moments have to do with poop, or is that just life with a baby?)
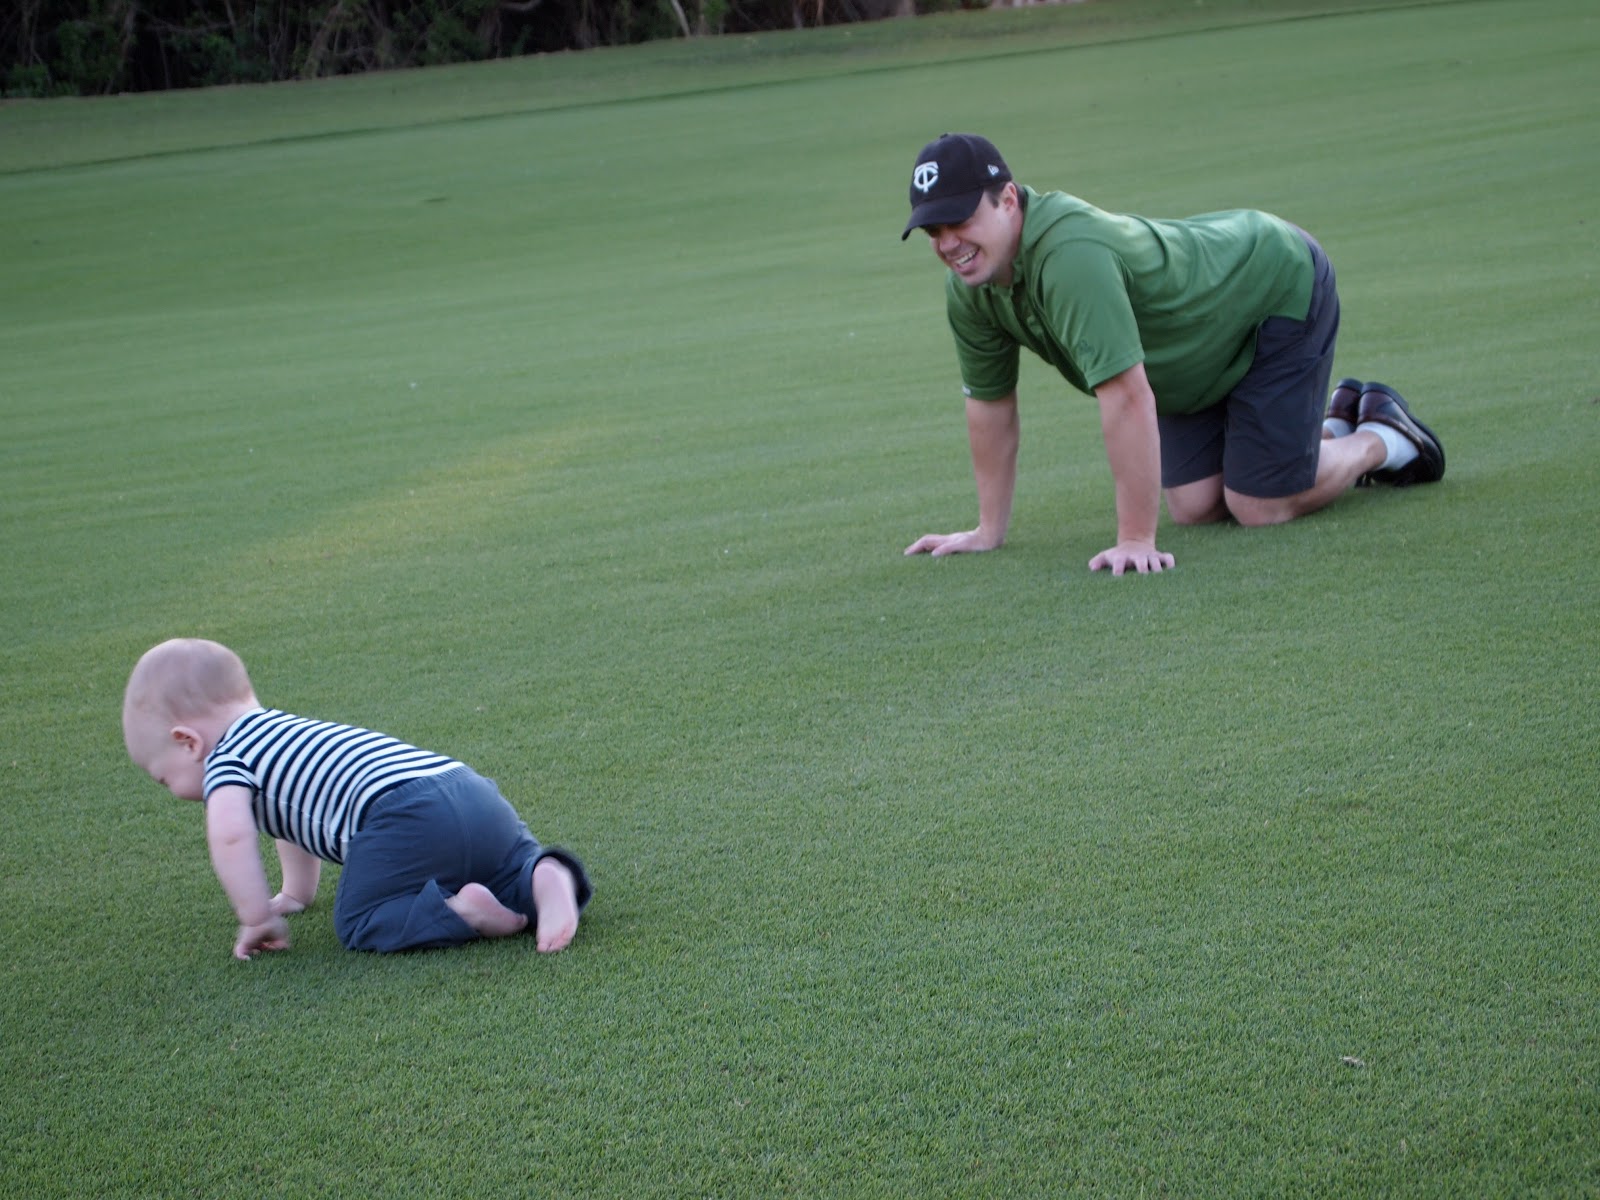
  • Lastly, we're very close to walking. He loves cruising around with his little baby walker... God help us when he figures out the real thing!

Here's our big guy at 9 months and 2 days:

So maybe it's just his face that's thinning out... the thighs are as gloriously chunky as ever.


"Oh what's up? Just caught me tacklin' my teddy"

A couple of my good friends' husbands also work for Tim's company (First Trust Portfolios) and were in town for the Christmas party:


David hamming it up for the camera

Caught in the act!


Thursday, December 6, 2012

Catching Up

I feel like it's been for-ev-er since I last posted, when in reality it's only been 10 days. So much has happened in these 10 days though...

We've been busy decorating our home for the Christmas season - it's officially the most wonderful time of the year! I love Christmas - so many fun traditions and family time, but ultimately celebrating Jesus's birth. So thankful that He was born 2000+ years ago, lived a sinless life for 33 years and defeated death as the perfect sacrifice - all on our behalf. What a sobering reality, but one that gives us the hope of an eternal relationship with the Lord. Wow!

I'm also happy to say I've returned to the nonprofit fundraising world - this was the industry in which I worked BC (before Caleb). This opportunity couldn't have been a more clear or quick answer to prayer. I started considering returning to work (outside the home) about 2 months ago. I brought the thought to Tim, and he was very supportive. We agreed that the perfect scenario would be a 10-hour part time position that would allow me to work from home. We decided to think and pray about it for 2 weeks. This next part is crazy. On day 13 of the 14 days of prayer, I received an email from a former collegue. He mentioned that his dad (who is a prominent figure in the nonprofit fundraising world) was starting a new fundraising consulting company and was looking for part-time help. Get this - he lives 2 blocks away from me and was looking for someone to work 10 hours from home! Say what?! It could.not.be.more.perfect. I started this arrangement at the beginning of November. And even though it's only a handful of hours each week, these used to be valuable clean-the-house and blogging hours. Needless to say, the house is a mess and the blog has been neglected. 

I'm still trying to figure out how to do it all, but I'm hoping that once all of the Christmas shopping is done, life will slow down a bit. It doesn't help that our poor little babe caught the stomach flu, making today a "throw the crap-covered onesie away, go straight to the bathtub, blow through 5 outfits, throw up all over mom and dad multiple times" kind of day. :(

But alas, here is what you probably came to see - the pics! This is another area where I've been slacking, so I only have a few from our Christmas tree extravaganza:


Oh Christmas tree, oh Christmas tree... (that's all I know)

We received a complete Christmas village from Tim's Aunt. We're still debating whether spending
hours taking each piece out of the box and setting it in the perfect spot will be an annual tradition. 


Tuesday, November 27, 2012

Soakin' Up the Florida Sun

Happy Thanksgiving all! We had the joy of spending ours in Sanibel Florida with the March family. Our 5 days were filled with delicious food, pool time, golf, celebrating Sallie's birthday, a terrifying trip to the beach and an all-around memorable first trip to Florida for Caleb. Here are the highlights:


Caleb wore his best for Thanksgiving dinner 
(a bow tie in honor of his Great Uncle Art and Great Grandpa Saunders):


He loved spending time with his cousins


Daniel and Caleb eying their dinner

We took Caleb out on the course behind the March's house for his first taste of golf. 

He loved the fairway - we're teaching him early

Caught this gem mid-crawl

This lighting really accentuates his growing hairline

Playing airplane with Dada

An afternoon spent by and in the pool:


Loving his little hat

Our pool time worked up quite the appetite. Nothing like a juicy pear quench it. 
Here's the progression of Caleb eating a pear:

We start with dad feeding Caleb the pear

He's an "I'll do it myself" kind of guy

"Do you really have to take so many photos of me eating, mom?"


He's even licking his fingers

"Can I pleeeeeeeeease have another slice??"

Next came our trip to the beach. I was SO excited to introduce Caleb to the ocean, watch him frolic and laugh in the waves and even take photos of him eating the sand. Wow! To say it did not go according to plan is a huge understatement. 

Tim and Caleb walking down to the water... so far so good. 

I have never seen such a look of terror! He melted the second his feet his the sand. We're not sure if it was the wet sand, the water rushing at him or the sound of the crashing waves... whatever it was, he was NOT having any of it!

We walked along the beach with Caleb plastered to us. He cried the second we tried to put him down. 


He finally cracked a smile once we were away from the water and laying on a towel

So relieved to be leaving that hellish place


Our happy dude is back!

Tim and I even got one night out to ourselves. Thanks John & Sallie for watching Caleb!

B-e-a-utiful sunset!


Sallie bought all of the grandkids special Christmas PJs. Each family took a photo with the pajamas for John & Sallie's Christmas card:


How can you say he doesn't look like his dad?!

Last, but not least, we took this photo during one of Caleb's laughing fits. He seriously just stands there, pounds the table and laughs hysterically. It just doesn't get much better.


Tuesday, November 20, 2012

36 Weeks Old!

Caleb is 36 weeks old tomorrow! Wait - what does that even mean?? I think it's so funny when moms keep counting in weeks after the 12 week mark. Maybe if every month had 4 weeks it would make sense... that's simply enough - divide the number of weeks by 4. But each month does not have 4 weeks in it! So let's make a deal and just count by months (once the babe reaches 12 weeks) until we reach 18 months, then we should probably switch to years - don't you think?

All that to say, Caleb is 8 months old and 6 days (shoot, I did it again... I just can't get myself together enough to ever post this monthly update on time!). Anywho, here are the highlights from month 8:

  • I somewhat falsely claimed in his 7th month post that Caleb had started crawling... now I would say he had started scooting, or even better yet - he had started doing the worm. This was fun to watch, but not a very efficient use of energy. After a week of the worm, he did start actually crawling.
  • He claps now - SO cute!

Caleb is SUCH a wiggler which makes changing him nearly impossible! Tim had to hold his feet down just so we could snap a quick pic. 

  • He also learned to pull himself up and "scale" around the room (the technical term for holding onto furniture and walking around it, I guess):


  • He discovered the nose scrunch and loves to do it for the camera:


  • He really seems to enjoy "cooking" in his kitchen. It's so nice that now that he can stand, he'll actually entertain himself for a little bit.


  • He's getting the hang of peek-a-boo. Before, he just whined when we would hide, now he squeals in anticipation or crawls to find us. 
  • I'm not sure if his lion Halloween costume was the inspiration, but he has started growling at us. Our speech-therapist friend tells us this is a very good sign (demonstrates that he is discovering how to use the back of his throat to produce sounds), but it's really disconcerting at times, especially when it's coupled with the scrunchy face. 
  • After three looooong and painful weeks for all, his bottom two teeth finally arrived! You can just see them peeking above his lip:


Still loves his Sophie


Thursday, November 15, 2012

Gettin' Crafty (Part 2) - Curtains & DIY Headboard

I mentioned in my last Gettin' Crafty (Part 1) post that I was working on a few different projects for our home. I've been inspired by hours spent watching HGTV recently - which is dangerously addicting, let me tell you!

CURTAINS

After waaaay tooooo many hours, the basement curtains are finally finished:

BEFORE:


AFTER:


HEADBOARD

The next project was a headboard for our bed. Disclaimer - this next section is verrry long. If you want to just see the before and after pictures, scroll to the end. If you are at all interested in knowing how I made the headboard or are thinking of making your own, read on!

I had been looking at headboards at various stores for quite some time and decided I really liked tall upholstered headboards like this one from Restoration Hardware:

Delano Upholstered Headboard
Source

Well, these babies can cost upwards of $2,000 on the high side and $650 on the low side. With a baby ruling the house and now living on one income, we didn't have that kind of cash just sitting around waiting to be spent on a headboard. SO, I decided to tackle it myself with a very helpful blog post by a woman named Sara from St. Louis. Her blog is called Running from the Law, and her DIY Headboard post can be found HERE. I've never actually met her (or talked to her - heck, she doesn't even know I exist or that I've spent hours perusing her blog), but I owe her BIG TIME... this would have taken so.much.longer without her excellent step-by-step guide.

BEFORE:


PROCESS: sorry, I forgot to take photos at each step :(

I bought an 1/4"x8'x4' sheet of MDF (medium Density Fiberboard) at Home Depot and had them cut off the sides so that it would be 82" wide. Our bed is 76" wide and I wanted 3" on each side. I then had them cut the remaining portion in half and in half again, meaning I now had 4 small pieces of MDF that were 2 feet tall each.  I used two of them as the legs and the other two portions to  screw the legs onto the actual headboard (see photo below). After using gardening shears as a compus to create a curve at each corner, I used my AWESOME new Rotozip (just a fancy jigsaw -which was 40% off... cha ching) to cut the corners. A helpful hint is to measure just one corner, getting the exact curve you want. After you saw that corner off, take it to the other side and trace it to ensure both corners are the same:


I then took 1" foam that I bought from Joann's Fabric and cut it to the same shape as the headboard (using a long steak knife, actually). Make sure you cut foam for the legs too.

I attached the foam to the MDF with a very strong adhesive from Joann's. I recommend you use this adhesive by Loctite and not a cheaper one. I ran out of the good stuff with just a bit left to do and found a cheap bottle in our garage left by the previous owners of our home - it didn't even compare and did not work too well. 


Cutting the foam to size

This is where I really dropped the ball with the photos, so I'll do my best to explain. I bought a very inexpensive cotton batting from Joann's and laid this over the headboard, cutting it to the correct size. I clamped the batting in place and then turned the headboard over (with the help of my very strong & supportive hubby) to staple it to the MDF. I highly recommend you buy an electric stapler for this project - SO worth it with the ridiculous volume of staples used. Here is the inexpensive staple gun I bought from Home Depot (just $27).

Next I turned the headboard back over and laid out a sheet of grey fabric I had bought at Joann's (because I was ultimately using a somewhat-see-through white linen for the outside of the headboard, I needed another layer of fabric underneath).  I followed the same process as the batting - clamped the fabric in place, turned the headboard over and stapled around the edge (every 3 inches or so).

After that, I turned the headboard over again and laid out the white linen fabric from Joann's. A couple notes here:
  • Do NOT wash and dry the fabric if you are making a tall headboard and using linen fabric. Big rookie mistake. HUGE. I had measured the headboard and concluded the main part was 47" tall. I knew the fabric I bought was 54" wide - should have been perfect. Oh no no no... I had the brilliant idea to wash and dry the fabric first... did you know that linen can shrink by up to 15%? I.definitely.did.not. So my 54" fabric was now 46" wide... how was that going to fit a 47" headboard you ask... it wasn't! Unaware at the time that I had shrunken the fabric, I took it back to Joann's and demanded they take it back and explain how they could have sold me the wrong size fabric. How embarrassed I was when the sales woman pointed out that it was actually my fault for drying it, and that they couldn't take it back. Oops! Thankfully they still had the fabric and I was able to buy another piece.
  • Also, make sure you iron the fabric before you try to attach it to the headboard (thankfully I did this before embarrassing myself a second time).
After clamping the linen to the headboard, I again turned the headboard over and stapled the crap out of the linen. Here's a picture of me stapling away in my "workshop" (a.k.a. very cold and messy garage). I do not recommend stapling up like I am doing here - it it much safer and easier to turn the headboard over and staple downwards.


The next step was to make buttons. I did this using a kit from Joann's and scraps of the linen. I made 8 buttons in total and then measured on the headboard where they would be placed (I measured 12" from the top for the top row and 12" down again for the bottom row. Each button was then 12" away from the button to the left and right).  Here is the measuring in action:


I did the same measurements on both the top and the bottom. On the bottom, I used a drill (and bit) to drill through the MDF. I then used a large needle and thick string to thread the needle up through the hole & through the foam and fabric (making sure the needle lined up with the marking on the top). After threading the needle through the button and back through the hole in the foam and MDF, I used staples to attach the string to the board:


Here's a close up of how I used the staples to attach the string:


 With all the buttons in place, we're almost done!


The last step was to attach the Nailhead Trim I had ordered from Sears.  Instead of actual trim where you hammer in each individual nail, this is actually a 5 yard "string" of silver beads (that resemble the tops of nails). Each 5th bead has a hole where you stick in and hammer one of the nails that comes with the package. It is much more cost effective and timely than trying to hammer in hundreds of nails. I used a blue fabric pen (washes off with water) to measure 2" from the edge all around the headboard and then placed the trim along the line. One hard thing is that the foam under the fabric is 1" thick but the trim nails are only about 1/2" long so I also used a very strong glue under the trim to make it stay in place.


Here is the FINAL PRODUCT! While not as luxurious as the $1500 Restoration Hardware headboard after which I modeled my DIY version, it's definitely worth the $150 I spent. Plus, with all of it's sweat equity, it means so much more to me now...


Here's the before photo again for quick comparison:


You may have noticed that the lamps are different too... oh what a little silver spray paint and new lampshades will do!

SO happy with our new bed.